Time-of-Use Strategy Settings
This strategy is mainly used to customize the switching between self-consumption mode and time plan mode by time periods so as to maximize economic benefits.
Note: This feature is available on EMS300CP-SV100.001.00.P027 or later.
-
Click Time-of-use strategy settings.
-
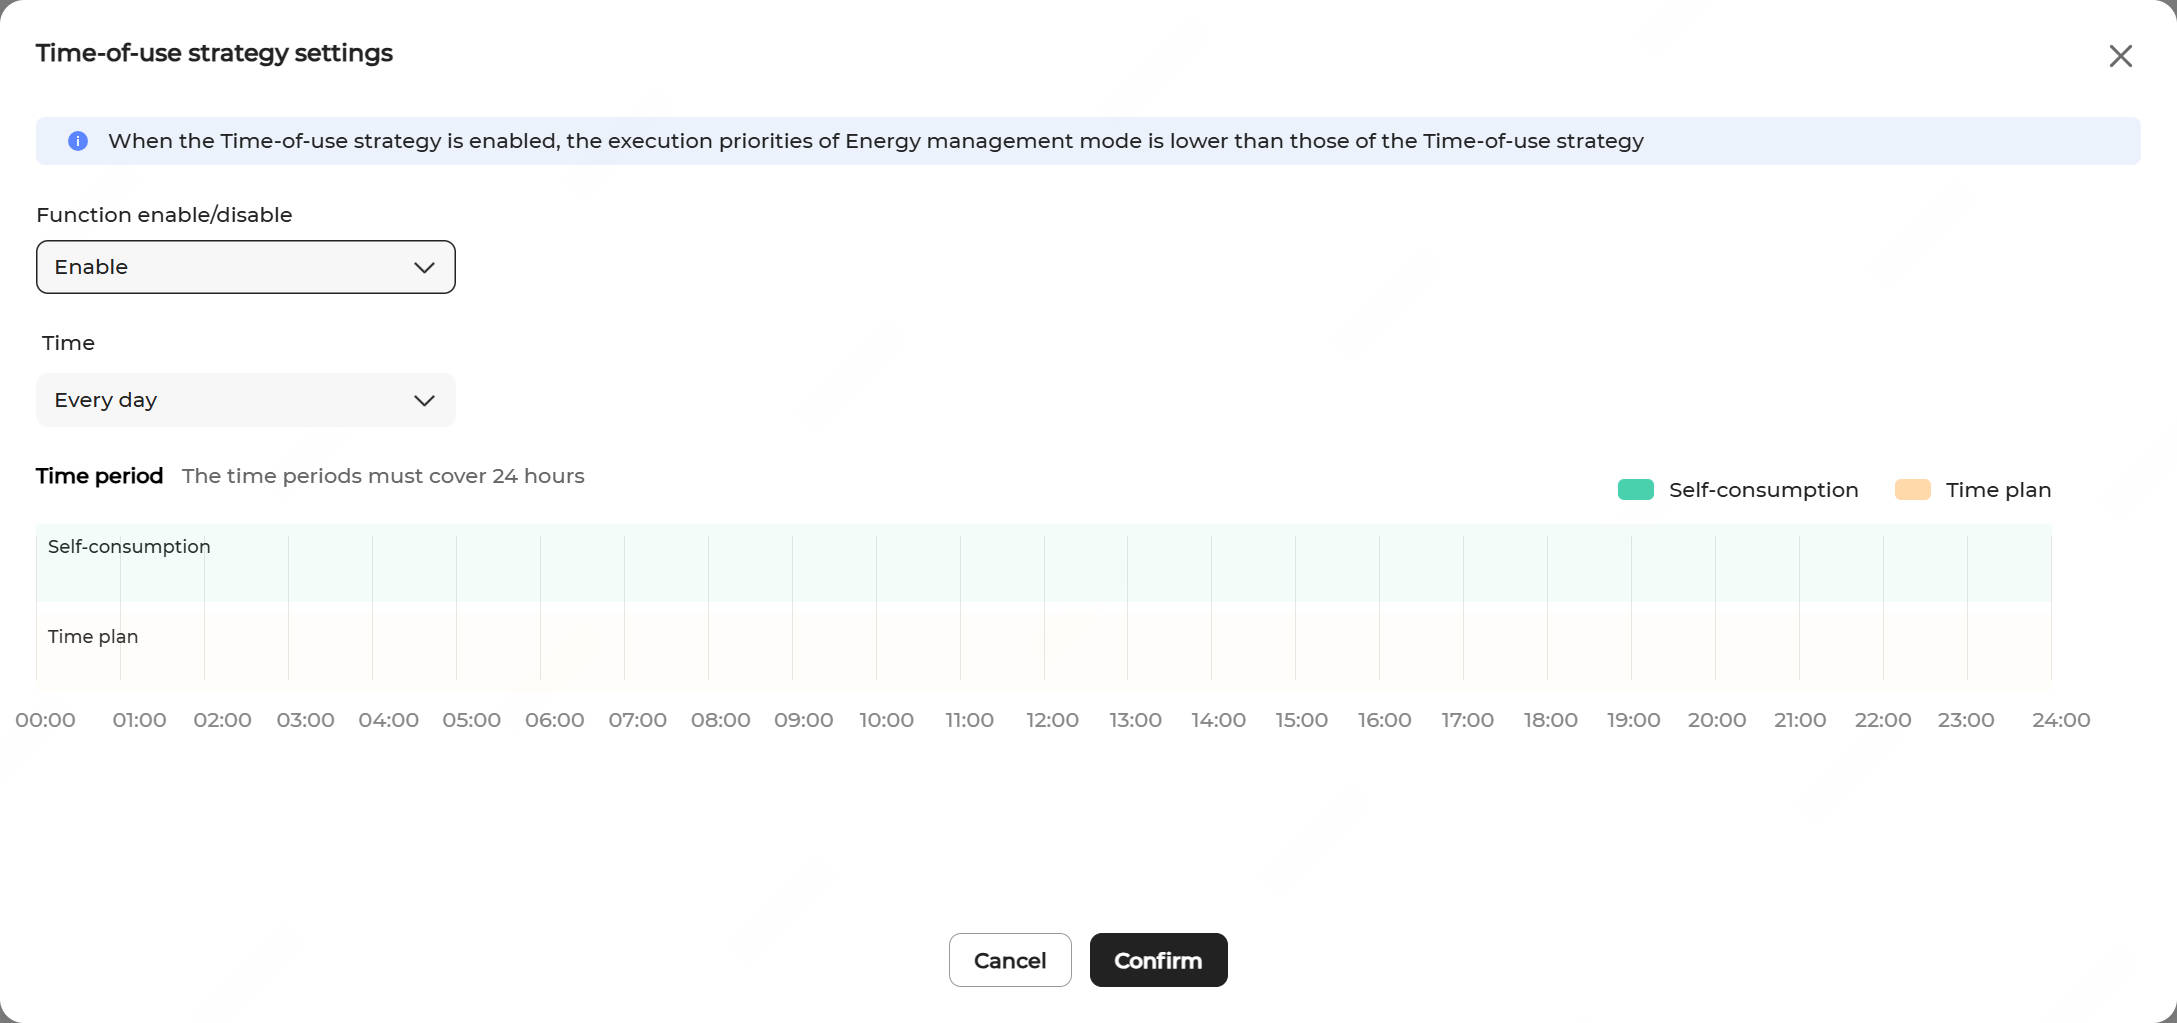
Select Enable in Function
enable/disable to enable the time-of-use strategy.
Note: When the Time-of-use strategy is enabled, the execution priorities of Energy management mode is lower than those of the Time-of-use strategy.
-
In the Time drop-down list, select the days on which the
battery charging/discharging plan applies.
You can apply the charging/discharging plan to every day, or set different charging/discharging plans respectively for working days and non-working days.
- Every day (default): The set charging/discharging plan applies on all days.
- Working days & non-working days: Set different charging/discharging plans respectively for working days and non-working days.
-
Set the operating time periods for self-consumption mode and time plan mode within a day.
- Tap a time period in the Self-consumption time bar. Then, drag the left or right edge of the window to adjust the length of time. A new time window will be created (with the minimum granularity of 15 minutes).
- Click the time window. In the Settings window, set the Peak shaving mode, Threshold on power purchase (demand control) (kW), and Threshold on power feed-in (demand control)(kW). During the specified time period, the system operates according to the self-consumption strategy. For details, see steps 3 to 5 in Self-Consumption.
- Tap a time period in the Time plan time bar. Then, drag the left or right edge of the window to adjust the length of time. A new time window will be created (with the minimum granularity of 15 minutes). Within the specified time period, the system operates according to the time plan strategy.Note: The time periods for self-consumption and time plan modes cannot overlap.
- Click Apply settings. In the pop-up window, enter the Task name, then click Confirm.